Showing posts with label paper flowers. Show all posts

Wednesday, June 1, 2011

Paper flower card }{ Tutorial Thursday

And I'm back with a card tutorial!

Are you sick of them yet? They are just so easy, quick, and you can use them for so many occasions, even just a simple hello to an old friend.

Back in April, I made some paper flowers based on a Creative Jewish Mom tutorial. I wasn't very happy with how I used them, but I loved the flowers themselves. So I let some ideas brew in my head of how to use them. This is one of those ideas.

Materials:
  • cardstock in two coordinating colors
  • green patterned paper
  • red and light pink tissue paper
  • scissors
  • glue
  • buttons
  • permanent marker or pen
How to make it:

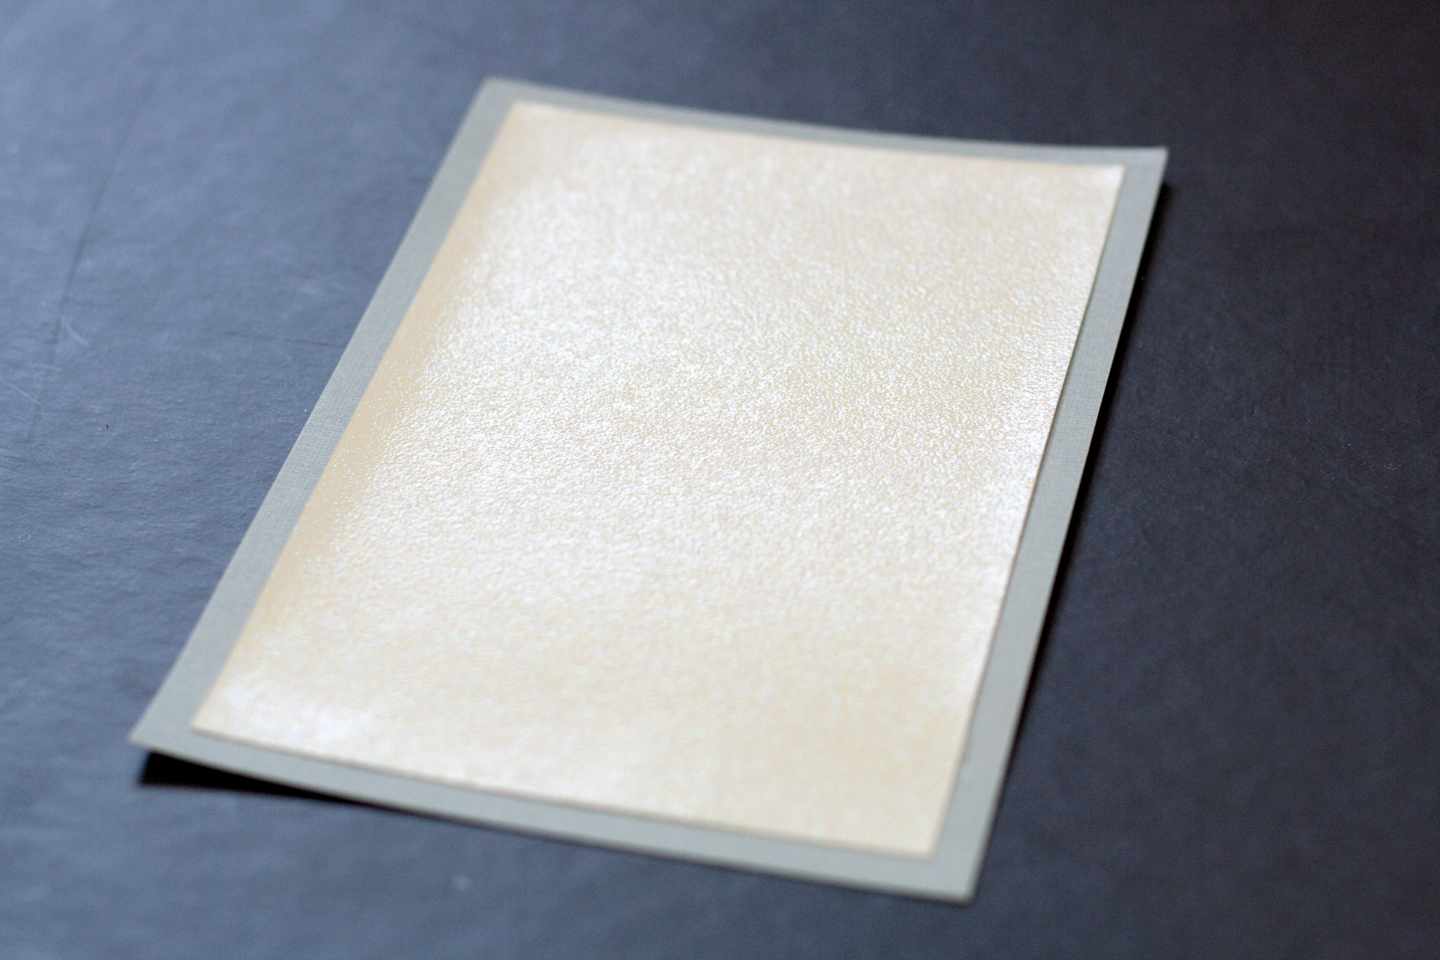
Step 1: Choose a card stock backing for your card and then a coordinating top panel. I choose a simple blue backing with some sparkling off white for the top panel to get some glitz in there.


Step 2: Cut the top panel on all sides slightly so that the backing shows, then glue them together. My backing was 4.5 wide by 6.5 long, and I cut my top panel down to 4 by 6.


Step 3: Cut the green patterned paper the same width of the top panel, and about 2 inches long. Cut the top in narrow strips (about 1.5 inches)  to make it look like grass. Glue it to the top panel.


Step 4: Draw the stem on the top panel.


Step 5: Make the flower with tissue paper following the tutorial on Creative Jewish Mom. The only change I made was that I didn't secure the petals together with paper brads. Instead I glued them down on the card and on top of one another.

Step 6: Glue a button on the center of the flower.


You can add whatever sentiment you want to the card or leave it as is.


Here's another one I made with a paper flower:


I really like how the flowers pop out of the cards and create some dimension.

How would you use the paper flowers? 
Pin It

Thursday, May 26, 2011

Butterfly garden shadow box }{ Tutorial Thursday

Just a reminder: Don't forget to enter my 6-month celebration giveaway here

I've had a handsome little boy on my mind a lot. Today's craft and tutorial was made with him and his family in my thoughts - a little butterfly garden.

Looking back at it, there are a few things I probably could and should have done differently, so I'll start by listing them. If you try to make this, you can always try my suggested improvements. 

  1. Make smaller flowers and butterflies, or use a bigger box.
  2. Make different sizes of butterflies.
  3. Add some sparkle or drawn designs to the butterflies.
  4. Make flowers that are lower to the ground, rather than tulips.
Just a few things that might improve today's project, and that I plan on trying myself next time we make something like this. 

Ok, on to the tutorial.

Materials:
  • shoe or any "shallow" cardboard box
  • origami paper
  • green tissue paper
  • glue
  • utility knife
  • thread
  • scissors
  • sewing needle
  • gesso
  • craft paints (blue, purple, white)
  • paint brush
  • an old plastic card (like a phone or grocery card) you don't use anymore
How to make it:
  • step 1: make some origami butterflies. You can find instructions for a whole lot of different butterflies HERE and if you prefer a video, go HERE for an easy one.
  • step 2: do the same with the flowers. For directions in pdf, you can check for these instructions HERE, or for a video go HERE.
  • step 3: with a utility knife, cut out whatever you need out of the box so that the front is wide open.
  • step 4: cover the inside of the box with one coat of gesso and wait for it to dry. If you don't like waiting, use a blow dryer to speed it up. Alternately you could glue some pretty paper.
  • step 5: after the gesso is dry, drop a little paint on the background. Using the card, spread the paint over the background until you're happy with it. I actually added some extra gesso over the paint to add whites and make the background a bit more muted.
  • step 6: glue the green tissue paper on the ground to make grass, then glue the flowers to the grass.
  • step 7: using the sewing needle, make a hole on the top of the butterfly (around the middle) and pass the thread through it. Glue the thread to the top of the box and wait for it to dry. 
step 1

step 2

step 3

step 5

step 6

step 7


This whole process took about 2 hours, longer than I originally intended, so I didn't have time to add any designs or other embellishments to the garden. But there we have a small butterfly garden shadow box.  I'm thinking you can also do the flowers as a mural and do a butterfly bunting over it. If anyone tries it, I'd love to see what modifications you come up with.

Happy Thursday!

Friday, April 29, 2011

Yes to yellow?

Remember how I mentioned I need a little color around here? 

I decided to be brave and go with some yellow. As the lovely Catherine Denton said in her latest post: yellow is not the color of cowards!  It's a hard color to match in my opinion, which is why I don't go for it. Besides it looks terrible with my skin tone.

So, to try it out in a small dose, I got out some yellow and some red tissue paper to make flowers, put them on a yellow bowl and plate I had around, and plopped them on top of my kitchen table. By the way, if you'd like to try and make these flowers, I found the tutorial (and all the other amazing tutorials) over at Creative Jewish Mom. Hers look so much more beautiful than mine, so you should definitely check them out!


Hmmm, still not sure if I can go for yellow. Maybe if I use a different color plate? Maybe this is too much yellow?

What colors are you skeptical of?