Showing posts with label Christmas. Show all posts

Tuesday, December 11, 2012

Salt dough ornaments }{ tutorial


Dear friends, I'm beat. I wish I could tell you all that's going on. Soon.

But the Christmas/holiday season is here and if that doesn't inject a hefty dose of energy into a crafter, I don't know what does. The princess and I have been doing small little projects almost daily. On the weekends we go a little crazier and do more involved crafts, like this one. It can be done in one day, but why would you want to put more rush into your holidays?

Materials for the dough ornaments:

  • 1/2 cup of salt
  • 1 cup of flour
  • 1/2 cup of lukewarm water
  • cookie cutters
  • chopstick or a pencil
  • rolling pin
  • cookie sheet
  • parchment paper
  • aluminum foil
Materials for decoration:

  • white craft paint
  • sharpies
  • glitter paint
  • brushes
Steps:


  1. Preheat oven to 250F.
  2. Mix the ingredients in a bowl. It quickly becomes a pliable but firm dough. It's super easy to manage this one.
  3. With some flour on the rolling pin and surface, roll the dough until it's about 1/4" thick. The thicker you make it, the longer it takes to dry (believe me, the princess didn't want to roll it and ours came out very thick)
  4. Cut shapes with the cookie cutters. Make a hole for the string with the chopstick or pencil
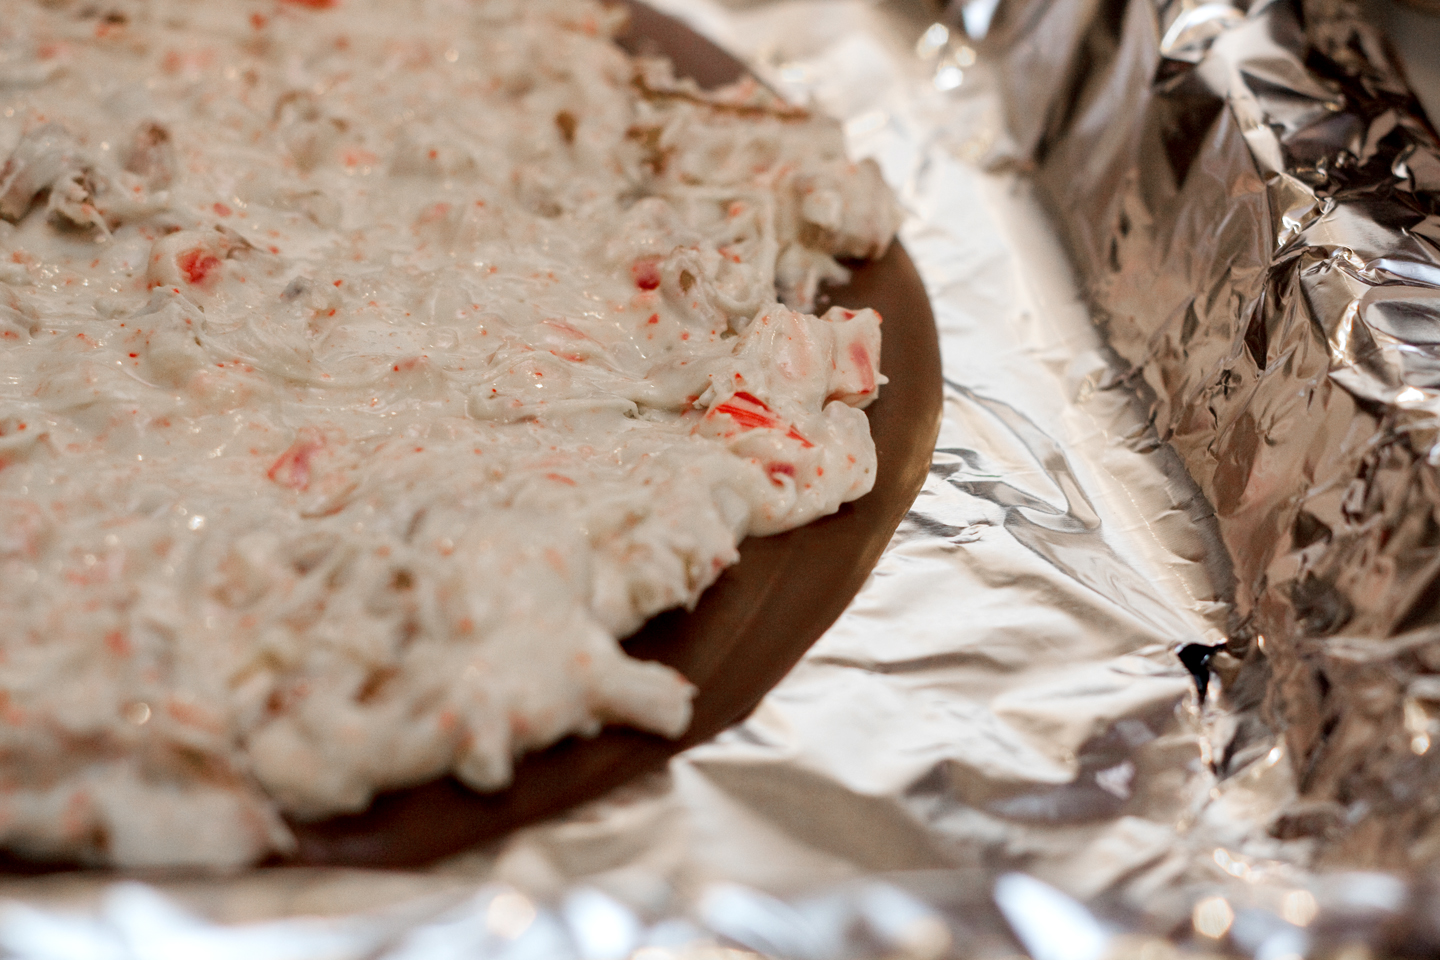
  5. Line a cookie sheet with parchment paper and place the ornaments carefully on the sheet. Cover them with foil and bake it for 3-4 hours (depending on thickness).
  6. Let them dry for a while (we left them alone overnight).
  7. Paint them with the white craft paint and let it dry. Our dried quite quickly because we used a blow dryer on the paint.
  8. Draw designs with the markers, add glitter, or finish whatever look you want to give them. This part is up to your imagination.
  9. Cut some string and put through the holes. Tie a knot and voila, you have ornaments ready to hang on your tree.
I don't know why she's so serious. She was smiling a second before.

We had so much fun making them, and the princess is so proud of hers she took them to school to share with her friends. This is an easy but fun way of making ornaments with the kids.


Tuesday, December 4, 2012

Felt Christmas tree }{ Crafting with kids

A while back I came across this project from Olives and Pickles on Pinterest, and I knew I wanted to try it with the princess. We love Christmas projects and this was easy and fun.

I also had this tray frame that I got on sale and that begged to be used for framing something fun. I put the two together - let the princess make some art and then frame it with the tray. My plan is to use it for different seasons and holidays. Simply change the background and the art piece as the year goes by.


Materials:

  • green and brown felt
  • yellow felt or gold card stock
  • buttons of several colors
  • glue
  • silver glitter
  • a large piece of card stock in a color that contrasts with green and gold
  • a frame


Steps:

  1. Draw a Christmas Tree on a sheet of green craft felt (or you can use a template) and then cut it out.
  2. Cut out a small square of brown felt to be the tree trunk.
  3. Draw and cut the yellow felt or gold card stock in the shape of a star.
  4. Gather some buttons, the glue, and the glitter. 
  5. Let the child decorate the tree. With older kids they could actually do the previous steps as well, but I decided to have it all ready for her to make it a quicker activity. She can get tired quick if it's too hard and involved.
  6. Add the tree and the trunk in the frame facing down.
  7. Place a contrasting card stock sheet on top of the tree for a background. I chose silver since it's sparkly for Christmas and out of the card stock I have it provided the biggest contrast.
  8. Close up the frame and place it somewhere where everyone can see, and show your kiddo how proud you are of their work.

So I did turn the original project into a little art project rather than math play. The great thing about inspiration is that you can turn something you find into something entirely different and have two activities instead of one.

  I'm Topsy Turvy

Tuesday, November 27, 2012

Headbands for Christmas }{ crochet pattern

I'm thinking this will be the last in a series of crochet and knitting posts I've been writing.

Following the headband and the scarf, today I'm sharing the pattern I used for the flowers I used in the girls' headbands for Christmas. It's a modified version of a flower pattern I learned a while back, but I can't remember where I got it from.


The pattern itself is simple and easy, but I wanted to share it because of the scalloped edges it creates. Making scalloped edges in crochet projects creates a cute little detail and it's so easy. The secret is to crochet some double or half double crochet stitches in the same stitch, then skip the next and slip stitch in the following stitch. Easy, right? You'll see what I mean in the pattern below.

In terms of yarn and hooks, I used an E hook and sport weight yarn, but that can be changed. Play around with different weights and hooks to find the results you like best.

CH = chain
DC = double crochet
SL = slip stitch

Pattern for base:

  1. CH 17
  2. Row 1: In 5th ch from the hook (including the chain on the hook, count 5 backwards), DC. *ch 1, skip the next ch, then DC, ch 1, DC in the following chain*. Repeat steps between ** until you reach the end. 
  3. Row 2: CH 3, turn. This will be your first "DC" in this row. 5 DC in first ch 1 space, *SL in the next ch 1 space, 6 DC in the next ch 1 space*. Repeat steps between ** until the end of the row.
  4. Tie it off leaving a long tale for sewing the flower together with a tapestry needle, then attaching it to the headband.
Pattern for second layer:

  1. CH 17
  2. Row 1: In 5th ch from the hook (including the chain on the hook, count 5 backwards), 5 DC. *skip the next ch, sl in the following ch, 6 DC in the next*. Repeat steps between ** until you reach the end. 
  3. Tie it off leaving a long tale for sewing the flower together with a tapestry needle, then attaching it to the flower base.


The princess asked me to add a "jewel" to the middle and I let her pick one for me to attach with hot glue. Done! Then reluctantly, the dragon modeled the finished headbands.

what's this you've got on my head, mom?

Saturday, January 8, 2011

Photo storyboards and a (brief) return to Christmas

Yes, I know Christmas is over with, but I just have to share N.'s video that her daycare teachers gave me. This was taken midway through December, and the teacher said she spent all day singing Christmas carols so they finally decided to get a video of it:


Ok, ok, now I'm really done with this past Christmas season.

**************************************************************************************************************************************

Here's something else I want to share: using storyboards with photos. There are quite a few available for free on the internet, along with frames and other fun things. I love the ones the fabulous ladies over at CoffeeShop have available along with plenty of tutorials, and you can check out the freebies section here as well. It's also not super hard to make your own.

So here are two examples of using storyboards.


(that's a CoffeeShop storyboard by the way)

(that was originally a frame freebie from freedigitalscrapbooking that I modified to make a storyboard)

You can use any photo with storyboards, but I like to have images that are related or tell a story somehow. Like in my niece's little "concert" she performed for us, or my headstand in the second picture. 

For the headstand, here's what I did: 
  1. I set the tripod, the focus (using a dummy where I would go), the settings for the light, and the self-timer. 
  2. Then I would get into position
    1. first get up with my legs just going up
    2. then a second picture with my legs a little more up
    3. continue in that fashion until I had a good progression of shots.
 I would love for you to share what you have been working on lately. Have a great weekend everyone!

Sunday, December 26, 2010

Back from the (happy) depths of Christmas

*gasps for breath*

Wow, I survived! This Christmas was a whirlwind.


  • My mom and sister came and had a blast with N; 
  • we did lots and lots of baking; 
  • I finally sewed the stockings; 
  • celebrated with family on Christmas eve
  • went to church, and had brunch with family again on Christmas day. 
It was wonderful. Now I am exhausted. But happy.


I hope everyone had a wonderful holiday. Merry Christmas! (albeit a little late)

Sunday, December 19, 2010

Winter wonderland

So nothing crafty to show for... yet. I'm still working on the stockings and the santa hats, except for N.'s (you can see her wearing it on the picture below). In the meantime, here's what we've been doing:

Lots of snow: 

pulling N. on a sled:


Visiting a handmade crafts store on a farm:

Hanging out with Santa:


I love the holidays.


How are yours going?

Saturday, December 18, 2010

Busy holiday merrymaking

Yep. Things are chaotic in this house. In a good way, that is.

I've got most of the rooms clean, just two more to go. Tomorrow is the day since my mom comes in on Sunday (sis is already here, but she even offered to help!).

I *started* making the stockings. (Sort of). I got the first one cut and the toe and cuffs sewed on, but that's about it.... I hear the clock ticking, haha. Can I finish it on time?!? Stay tuned for the next episode of "Sew impossible"

I made a couple of ornaments for N.'s teachers at daycare, but I have no pictures to show for it. They were a finish-and-run-out-the-door-ornament-making-session. I thought they were kind of cute, two little Christmas tress made of green streamers and sequins with wire for hanging.

Almost done with shopping. My husband finally told me what he wants, so he's the last hold out.

And then tonight... I made some pretzel-and-peppermint bark (I'm in love with hyphens today; it's my everything-hyphenated-day). Just got done now, around 11:30 pm. Oi. But I'm so happy!


Oh yeah, we're frozen. Everything around us is frozen. We're in for a very white Christmas.

Happy weekend everyone!

Thursday, December 9, 2010

Card-making, merry-making

I couldn't resist. I was inspired by Scarlett at Blue, Purple, and Scarlett and her beautiful cards and just had to go try some of my own. Ok, ok, I know I'm not anywhere near as good as she is, I mean wow! But I wanted some card-making fun anyway.

So, here's what I did:

First I found some colors and patterns that I liked.


I measured everything to scale and to make sure it was centered.


Then I cut up the papers and pasted them together.


Added some embellishments


Until I thought it would do.


Hope you're all having a wonderful day!

Friday, December 3, 2010

Pretty little things

I've been getting into full on holiday mode lately. Decorations are up, but I'm still doing Christmas-y crafts as I go along (see this post from yesterday).


So today, in the spirit of Christmas decoration, I want to share a giveway that Bluebird Notes is having, because well... take a look at the shop where the ornaments are coming from. I love, love, love those ornaments! *sigh* I'm definitely getting my hands on some, regardless of the giveaway.

*_*_*_*_*_*_*_*_*_*_*_*_*_*_*_*_*_*_*_*_*_*_*_*_*_*_*_*_*_*_*_*_*_*_*_*_*_*_*_*_*_

On a different note, can we talk about blur? Does it make me a bad photographer or even a bad consumer of photography if I love blur?

Of course I love crisp, clear, and focused photography as well. But sometimes, I feel that life is not completely in focus, and that's what I want to portray in a photo. This photo of N. wasn't originally supposed to be out of focus, but when I retook it with the correct focus on her eyes, I didn't like it as much.


I love this picture.... but maybe I'm just out of it. 

Are there any pictures that in your opinion came out better as a "mistake?"

Thursday, December 2, 2010

The 5-minute mama crafter

N. watched Frosty the Snowman for the first time a couple of weeks ago. Oh boy. She hasn't stopped talking about snowmen, Frosty, Santa Claus, "Karen," and Christmas in general. It doesn't help that every house in town has put their lights and decorations up (including us).

So yesterday we were killing time and playing before our bedtime routine, and she kept asking me for Frosty. So I decided to make her one with scrap materials we had around. It took us all of 5 minutes too! My favorite kind of baby craft.


Materials:
2 styrofoam balls (one small, one medium; or one medium, one large)
some red felt for the scarf
some black felt for the hat (which quickly got destroyed and thrown away by miss N.)
1 Toothpick
Chenille piper cleaners
Black and orange paper
Glue

How we did it:

I broke the toothpick into a smaller piece, so that I could stick each end of a different styrofoam ball. Then I cut the eyes and mouth out of black paper and glued it on the smaller ball (the face). Cute the red felt into a scarf and glued it where the two balls were connecting. I cut small pieces of the pipe cleaner and stuck them on the sides of the bigger ball for his arms. Then I took another piece of the toothpick and stuck it at the very corner of the mouth (for Frosty's pipe). I tried to imitate Frosty's button nose with black paper, but didn't like the results, so I decided to use a carrot nose (N. didn't notice). I cut a long and narrow piece of orange paper and rolled into a "nose" like you see above, took another piece of the toothpick and glued it to the inside of the orange nose and stuck it in the face (poor Frosty was stabbed a few times during this process...). Then I did something similar to the pipe (cut orange paper, glue the end of the pipe toothpick to the inside).

The hat... It took me the longest, cutting out round pieces of felt for the bottom and top of the hat, then a long one for the wrap around. It looked like a top hat... I glued it to Frosty's head but miss N. wouldn't wait until it dried (I should have used a hot glue gun, maybe?) and the thing got destroyed very, very quickly.

But I really like how it came out anyway, and so after she played with him he proudly went into our balustrade's pine needles among the lights and other things.