Showing posts with label cards. Show all posts

Tuesday, March 20, 2012

A mixed media card }{ tutorial

I'm calling this post a tutorial, but in truth it's more of a process post. What I mean is, if you follow the steps, you may be using the same process I did, but most likely your card won't be the same. You might change the colors, the background, the final touches, etc. In any case, it's been a while since I did a tutorial-like post.

To be completely honest, I'm not 100% happy with how it came out at the end. So I'm asking for help. What would you have done differently?

This all started with an idea to sew ripped up music sheets together. I didn't know anything else about the project, only that it had to include that. The whole process went along without planning ahead - after each step I'd try to think "what's next?" So I gathered a bunch of things I might use, but here's a final list of what I did use:


  • watercolor paper
  • old sheets of music
  • alcohol-free ink
  • walnut ink spray
  • sketch paper and pencil
  • gesso
  • watercolors (and brush of course)
  • scissors
  • matte gel
  • ribbon
  • small jewel
  • sewing machine and thread
And the process:


  1. Cut a piece of watercolor paper and sprayed it with pink ink. 
  2. Then grab a ripped up piece of sheet music


  1. Rip the sheet music into 4 smaller pieces and then sew them together.


  1. Press the edges of the sheet music on the ink pad


  1. Sketch some girls on separate piece of paper. This step in particular can easily be made simpler by using a stamp, like these.


  1. Decide which image to use, color it (or not), and cut it. I used watercolor for this, but I've seen people do amazing cards with copic markers and other supplies too.


  1. Decide on an arrangement on the background paper and paste it together using matte gel.
  2. Put on the finishing touches, whatever you deem necessary. I added gesso on the girl for some highlights, as well as some darker colors for shadows here and there. Then I also added some thread using various decorative stitches to the side, then a jewel to her hat, and finally some ribbon.


So back to my question up there, what would you have done differently?

Wednesday, June 1, 2011

Paper flower card }{ Tutorial Thursday

And I'm back with a card tutorial!

Are you sick of them yet? They are just so easy, quick, and you can use them for so many occasions, even just a simple hello to an old friend.

Back in April, I made some paper flowers based on a Creative Jewish Mom tutorial. I wasn't very happy with how I used them, but I loved the flowers themselves. So I let some ideas brew in my head of how to use them. This is one of those ideas.

Materials:
  • cardstock in two coordinating colors
  • green patterned paper
  • red and light pink tissue paper
  • scissors
  • glue
  • buttons
  • permanent marker or pen
How to make it:

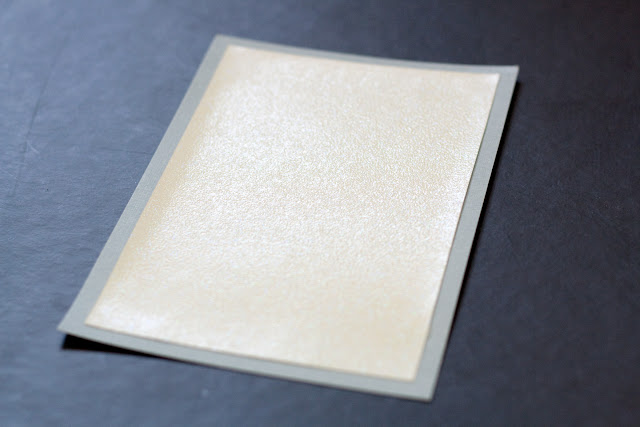
Step 1: Choose a card stock backing for your card and then a coordinating top panel. I choose a simple blue backing with some sparkling off white for the top panel to get some glitz in there.


Step 2: Cut the top panel on all sides slightly so that the backing shows, then glue them together. My backing was 4.5 wide by 6.5 long, and I cut my top panel down to 4 by 6.


Step 3: Cut the green patterned paper the same width of the top panel, and about 2 inches long. Cut the top in narrow strips (about 1.5 inches)  to make it look like grass. Glue it to the top panel.


Step 4: Draw the stem on the top panel.


Step 5: Make the flower with tissue paper following the tutorial on Creative Jewish Mom. The only change I made was that I didn't secure the petals together with paper brads. Instead I glued them down on the card and on top of one another.

Step 6: Glue a button on the center of the flower.


You can add whatever sentiment you want to the card or leave it as is.


Here's another one I made with a paper flower:


I really like how the flowers pop out of the cards and create some dimension.

How would you use the paper flowers? 
Pin It

Thursday, May 5, 2011

Flower pounding + a card }{ Tutorial Thursdays

Last night as she was putting the little one to sleep, guess who else fell asleep right along?  Moi. My husband probably figured I was exhausted and let me sleep there until..... I woke up at midnight in a panic!  

What about grading student papers? What about studying for my last final this coming Monday? What about my blog post for today? 

I just simply don't have time to sleep early. Still, it gave a lot of energy this morning so now it's time to catch up on lost productivity time.

Today's tutorial is really a 2-for-1 deal, because I'm generous like that. I'm also not very modest, but you know that by now. 


All kidding aside, I *love* a lot of the techniques or steps involved in this project because you can easily take them and apply them somewhere else. There are two main parts: 1) Flower pounding to create a pattern on a scrap of fabric and 2) making a card with that fabric. I do love making cards, have you noticed? Ok, on to part 1.

1) Flower pounding: I came across this technique on a crafting book compiled from Family Fun magazine. It's one of my favorite go to books.
Materials

  • fresh flowers
  • unbleached white muslin
  • a hammer
  • a hard surface
  • some junk mail (to keep your surface tidy)
Steps
  1. Place some junk mail on a hard surface, then place the muslin over it.
  2. Arrange one or more flowers on the top half of the muslin to form the pattern you want.
  3. Fold the bottom half of the muslin over it.
  4. Pound away with the hammer, making sure not to miss the corners.
  5. Unfold it and scrape the flower residue. The book actually tells you to use a butter knife for this, but I just use my hands - I love getting down and dirty with my crafts.
  6. You'll have two sides with mirror images of the flower. You can keep both sides or separate them and use each side separately depending on what you'll use it for.
step 2
step 3

step 5

And there you have it, a flowery pattern on a scrap of fabric that you can then use to do whatever you want - pillows, quilts, etc. And of course, cards.

2) Making the card: I decided to use the fabric on a card for two reasons. First, the more you wash the muslin, the more the flower pattern fades, and with a toddler at home I have to wash my fabrics constantly. Second, I love cards. :)

Materials
  • white card stock
  • spray ink, or watercolors (and brush)
  • Scrap of fabric with flower pattern
  • sewing machine with thread or embroidery needle with thread
  • embellishments (I used dried flowers, ink and stencils)
Steps
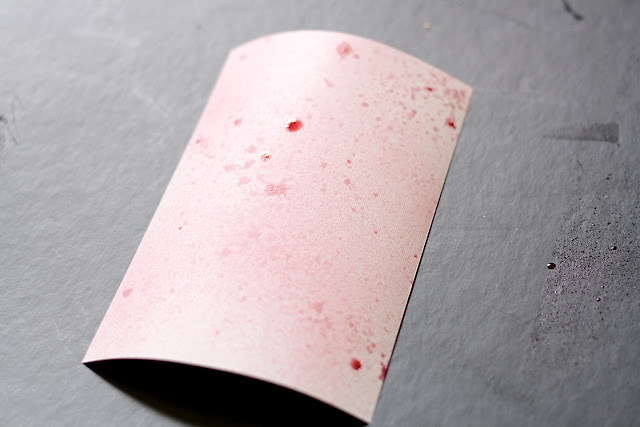
  1. Spray the card stock with ink in a color of your choice. Alternatively, paint the card stock with a solid but light watercolor. Let it dry.
  2. Take/cut one half of the piece of muslin with the flower on it and reduce it to a size that fits on the card.
  3. Fray the edges of the muslin until you're happy with the effect.
  4. Sew the fabric on the card stock, either by machine (decorative stitch) or by hand (pretty embroidery stitch)
  5. On the back, add a sentiment with the stencils and ink (or you can print something and glue it).
  6. Add embellishments, like a dried flower or glitter or whatever you like. :)
step 1

step 3

step 4

step 5
I hope you decide to try flower pounding or sewing fabric on card sock to make a card. You can really do so much with either of these basic techniques. Just let your creativity take hold. 

What kinds of crafting techniques have you expanded on? What new uses have you found for them? I'd love to see your crafts sometime. 
Pin It

Thursday, April 14, 2011

Love notes and Little feet

Today's post is really about love. Things I like to create for the people I love.

Ok, ok, I know. Mushy, right? It must be Spring.

I made a couple of love notes for my husband, but now I can't decide which to give him. He's not a big "cute" or "pretty" card sort of person. He gets a bit embarrassed when he gets cards from me too. So now I'm thinking both of these might be too girly for him. Eenie meenie miney mo...


And then, there's the little girl... She's adorable all over, but just look at these little feet! 


They absolutely inspire me to sketch some shoes for them.


How do you express your love?

Wednesday, February 23, 2011

Scraftzophrenic

Lately I've fallen in love with paper. Yes, I know I already have my strong and lasting relationships with the needle arts, my blossoming flirt with drawing and painting, and several recurring one-night stands with random crafts.

I guess I'm just not a loyal, one-craft woman.... Good things crafts are pretty forgiving.

Back to paper. My mom's birthday card, made with love by the super team of me and the little one.


(The picture doesn't do it justice this time. It looked much cuter in person.) 

Is anyone else out there "scraftzophrenic?" What are your lasting love affairs with creative activities and have you had "others" on the side? (feel free to ignore this very personal crafting question)

Friday, February 4, 2011

Valentines for a toddler

Is it already February? Really? Wow. Time for Valentines!

This year the little one is going to take valentine cards to her daycare friends for the first time. I wanted to do something where she could participate in the making of the cards, so...

What I did was choose some patterned paper and cut it into hearts. Then I cut white card stock into smaller hearts.


I machine stitched them together and then let N. have a go. I gave her some supplies (red paint, stamps, red and white glitter, sponges, and crayons) and let her decorate them however she pleased. 


Each card is one of its kind and made specially by her (well, a lot of it) for her friends. Easy peasy handmade toddler valentines.

Thursday, December 9, 2010

Card-making, merry-making

I couldn't resist. I was inspired by Scarlett at Blue, Purple, and Scarlett and her beautiful cards and just had to go try some of my own. Ok, ok, I know I'm not anywhere near as good as she is, I mean wow! But I wanted some card-making fun anyway.

So, here's what I did:

First I found some colors and patterns that I liked.


I measured everything to scale and to make sure it was centered.


Then I cut up the papers and pasted them together.


Added some embellishments


Until I thought it would do.


Hope you're all having a wonderful day!