Last night as she was putting the little one to sleep, guess who else fell asleep right along?
Moi. My husband probably figured I was exhausted and let me sleep there until..... I woke up at midnight in a panic!
What about grading student papers? What about studying for my last final this coming Monday? What about my blog post for today?
I just simply don't have time to sleep early. Still, it gave a lot of energy this morning so now it's time to catch up on lost productivity time.
Today's tutorial is really a 2-for-1 deal, because I'm generous like that. I'm also not very modest, but you know that by now.
All kidding aside, I *love* a lot of the techniques or steps involved in this project because you can easily take them and apply them somewhere else. There are two main parts: 1) Flower pounding to create a pattern on a scrap of fabric and 2) making a card with that fabric. I do love making cards, have you noticed? Ok, on to part 1.
1) Flower pounding: I came across this technique on a crafting book compiled from Family Fun magazine. It's one of my favorite go to books.
Materials
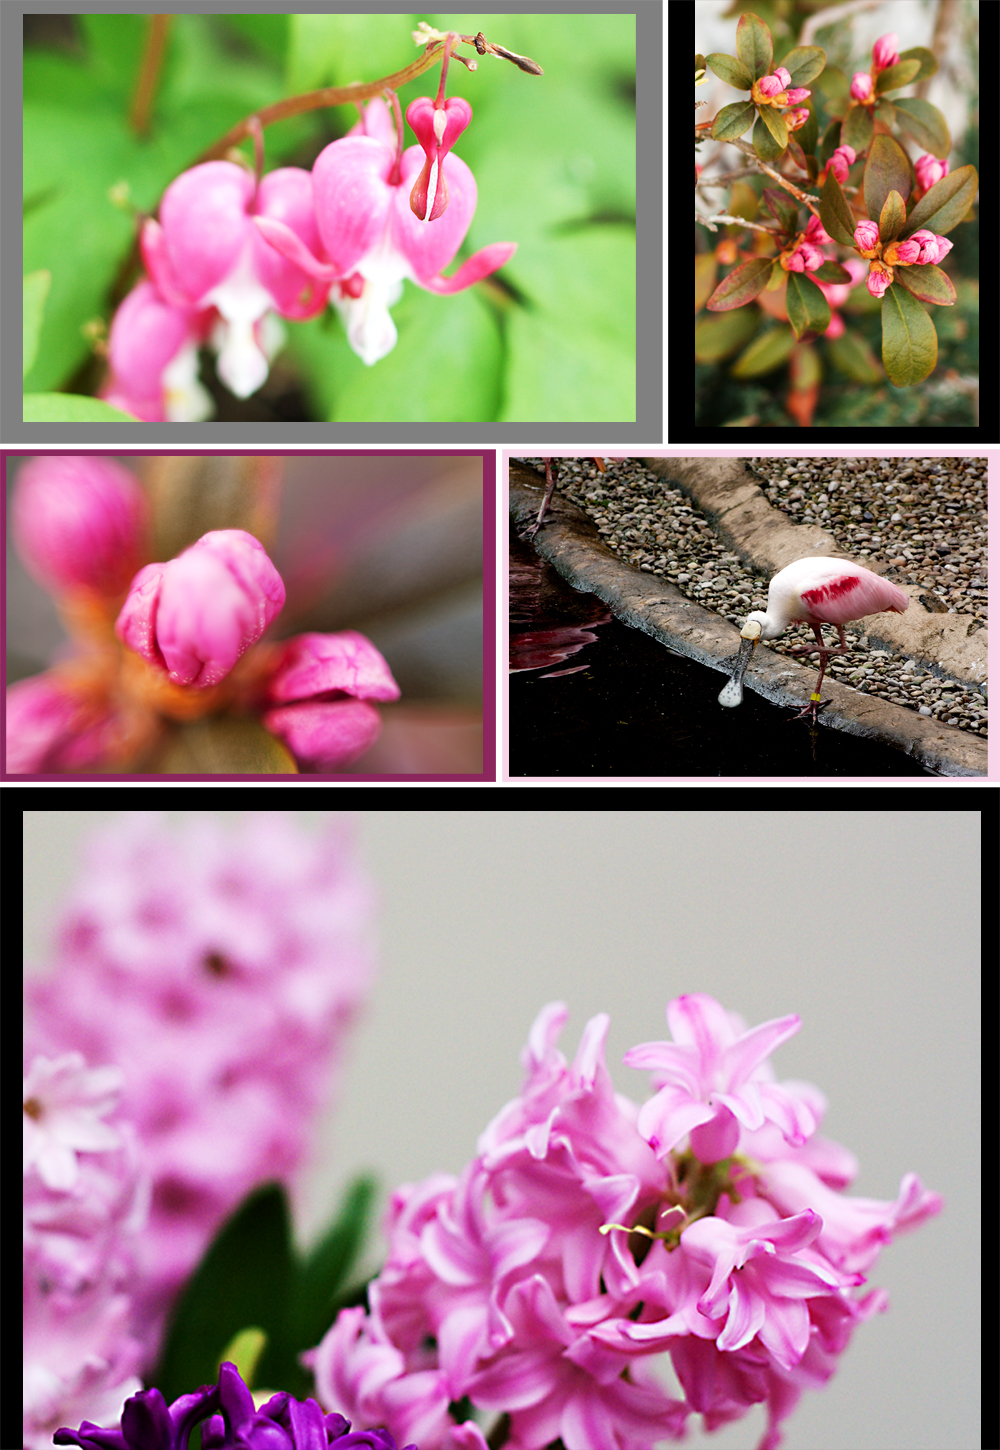
- fresh flowers
- unbleached white muslin
- a hammer
- a hard surface
- some junk mail (to keep your surface tidy)
Steps- Place some junk mail on a hard surface, then place the muslin over it.
- Arrange one or more flowers on the top half of the muslin to form the pattern you want.
- Fold the bottom half of the muslin over it.
- Pound away with the hammer, making sure not to miss the corners.
- Unfold it and scrape the flower residue. The book actually tells you to use a butter knife for this, but I just use my hands - I love getting down and dirty with my crafts.
- You'll have two sides with mirror images of the flower. You can keep both sides or separate them and use each side separately depending on what you'll use it for.
 |
| step 2 |
 |
| step 3 |
 |
| step 5 |
And there you have it, a flowery pattern on a scrap of fabric that you can then use to do whatever you want - pillows, quilts, etc. And of course, cards.
2) Making the card: I decided to use the fabric on a card for two reasons. First, the more you wash the muslin, the more the flower pattern fades, and with a toddler at home I have to wash my fabrics constantly. Second, I love cards. :)
Materials
- white card stock
- spray ink, or watercolors (and brush)
- Scrap of fabric with flower pattern
- sewing machine with thread or embroidery needle with thread
- embellishments (I used dried flowers, ink and stencils)
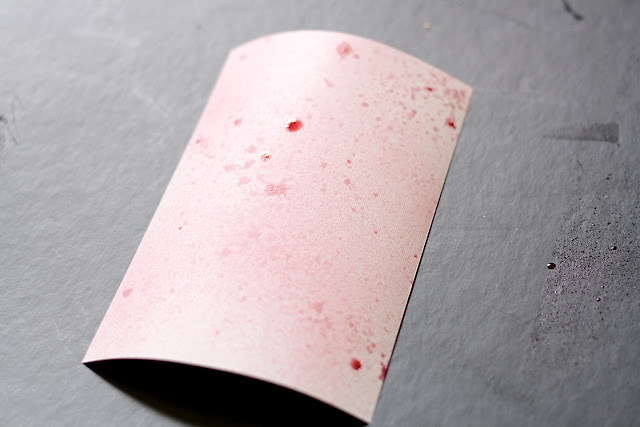
Steps- Spray the card stock with ink in a color of your choice. Alternatively, paint the card stock with a solid but light watercolor. Let it dry.
- Take/cut one half of the piece of muslin with the flower on it and reduce it to a size that fits on the card.
- Fray the edges of the muslin until you're happy with the effect.
- Sew the fabric on the card stock, either by machine (decorative stitch) or by hand (pretty embroidery stitch)
- On the back, add a sentiment with the stencils and ink (or you can print something and glue it).
- Add embellishments, like a dried flower or glitter or whatever you like. :)
 |
| step 1 |
 |
| step 3 |
 |
step 4
|
 |
| step 5 |
I hope you decide to try flower pounding or sewing fabric on card sock to make a card. You can really do so much with either of these basic techniques. Just let your creativity take hold.
What kinds of crafting techniques have you expanded on? What new uses have you found for them? I'd love to see your crafts sometime.